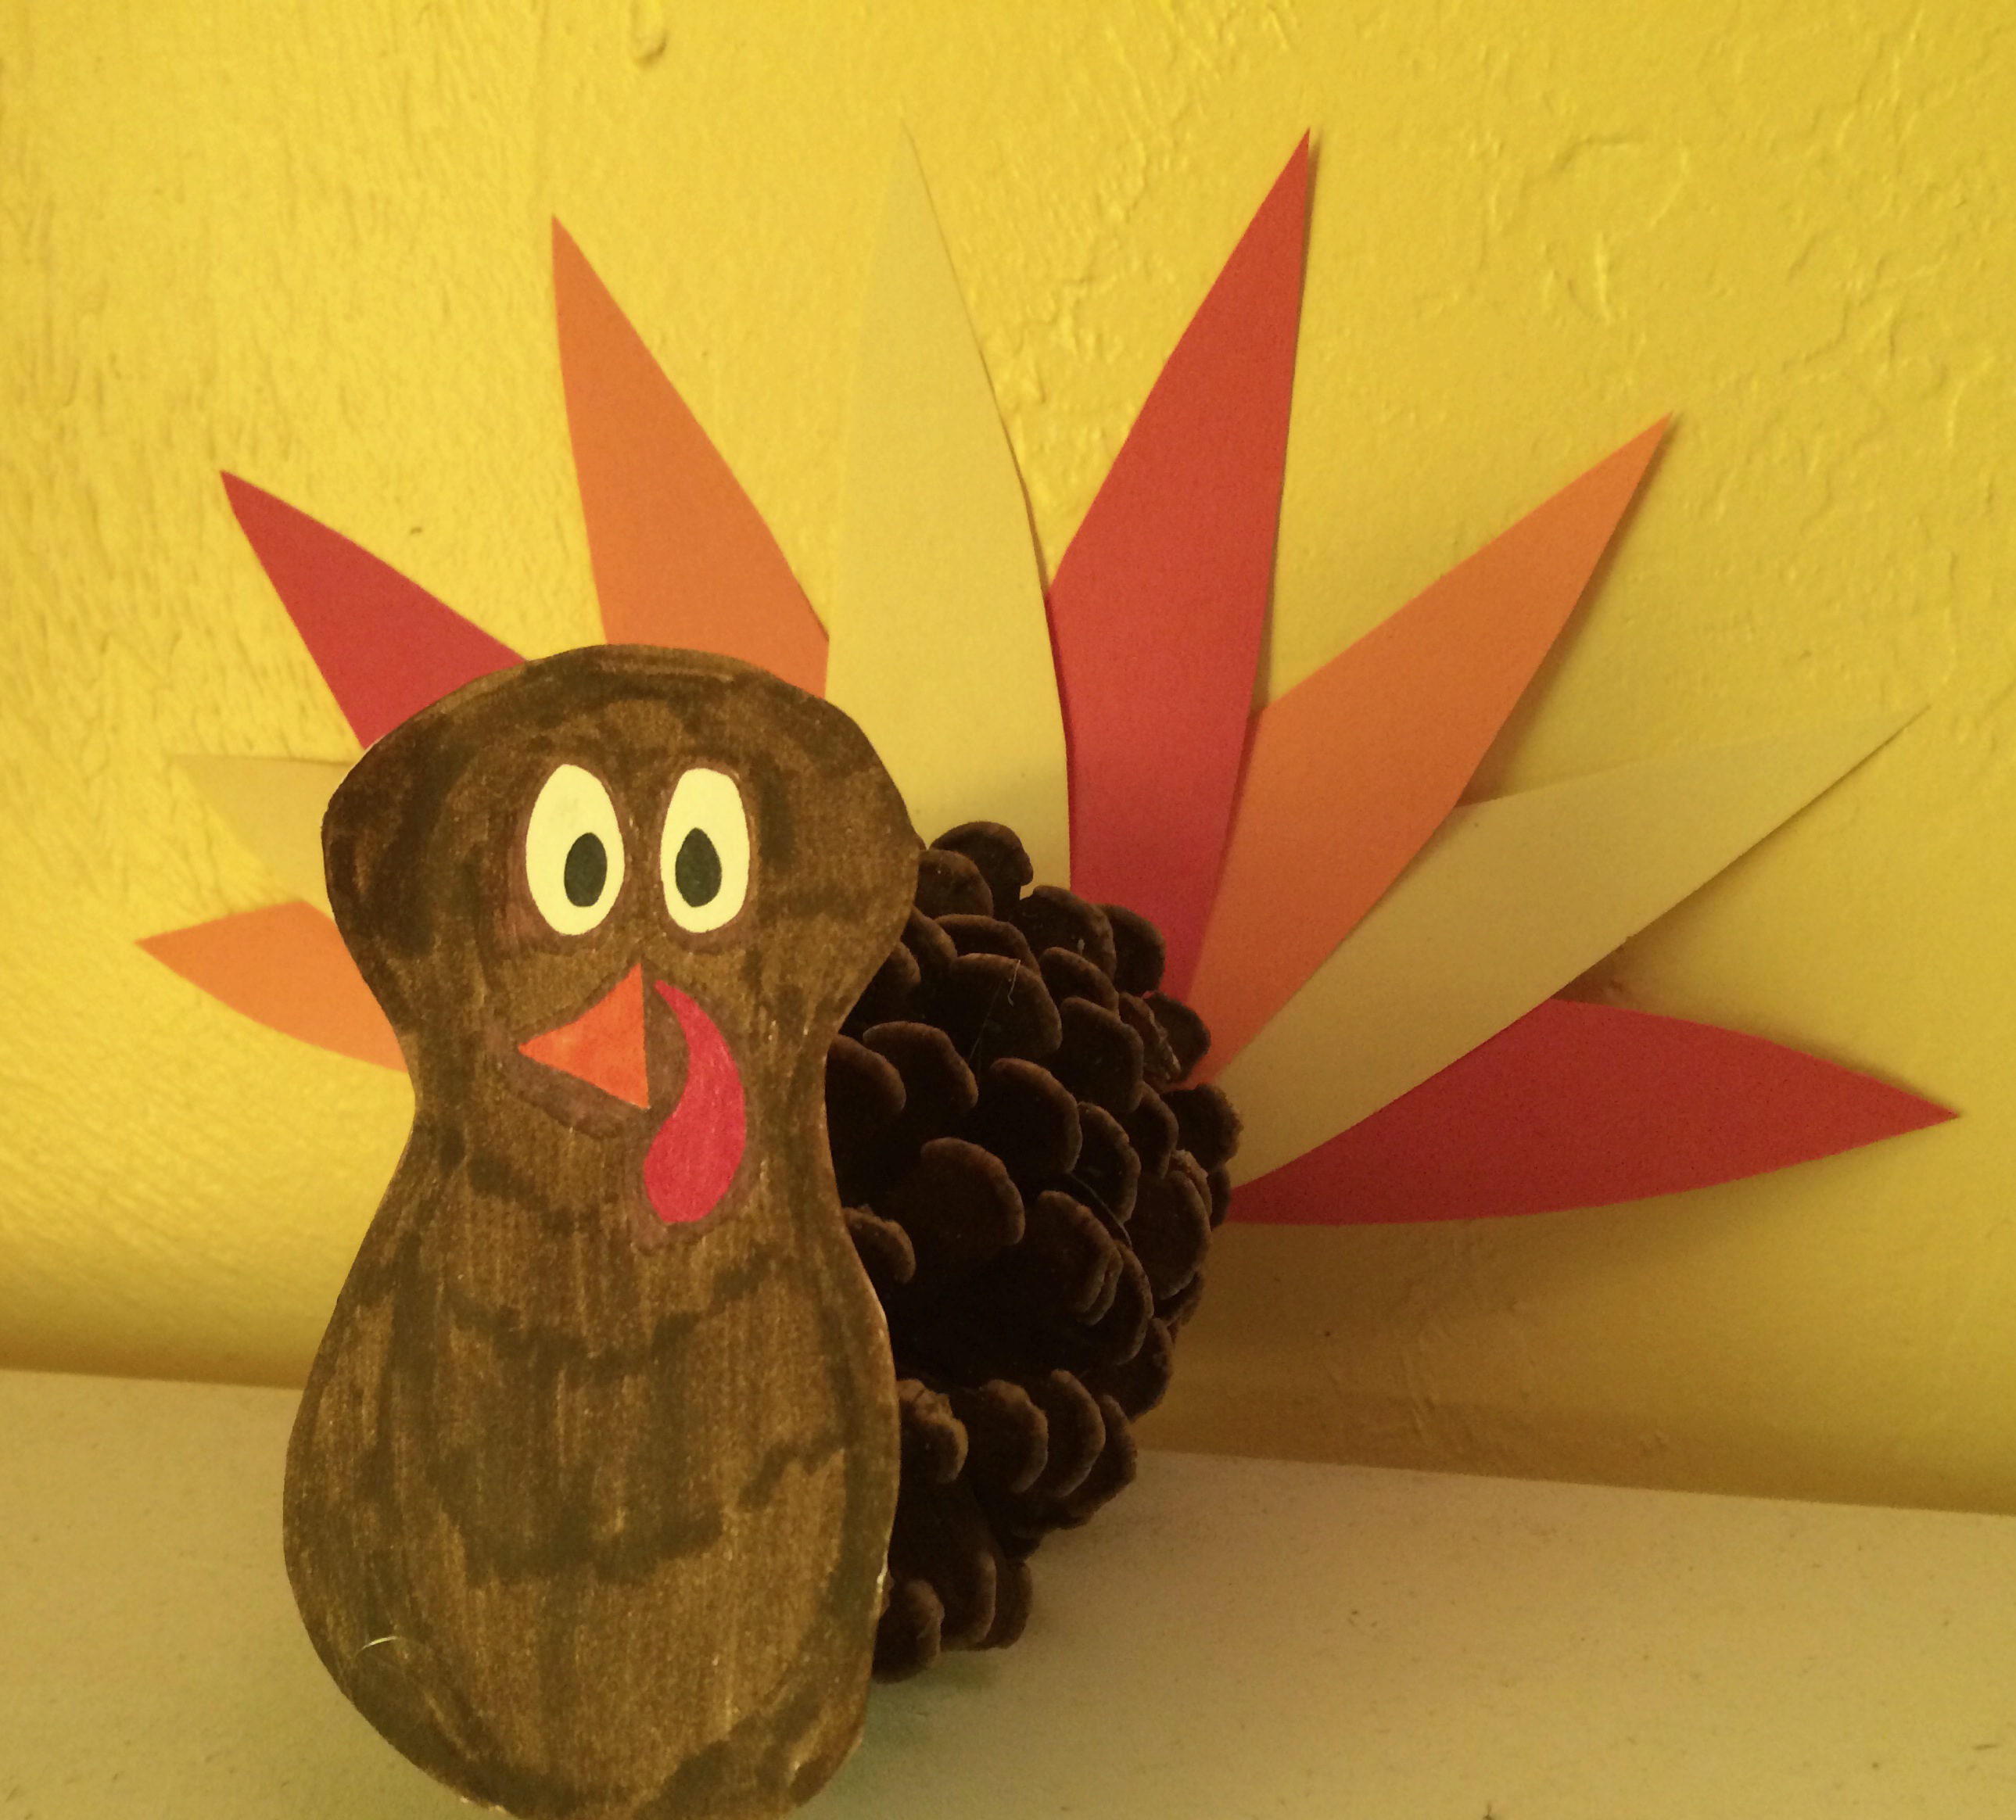
Pinecone Turkey
Kids will enjoy making this fun and easy Thanksgiving craft from a few inexpensive materials and pinecones. Don’t have access to pinecones for the body? Just use Styrofoam balls that you can get at any craft store and have the kids draw on feathers with crayons or markers.
What you’ll need
Pinecones or Styrofoam balls
Tissue paper – red, yellow and orange
Construction paper – yellow and brown
Crayons or markers
Glue and scissors
Wiggly eyes
How to make it
Cut 3 triangles from each color of tissue paper. When you're done you should have 9 triangles total.
Gather the base (long side) of the triangle together so that it leaves a point on the other end to form a tail "feather."
Put a dot of glue on the gathered end of the tissue paper.
Gather the base of another triangle together (use a different color to alternate colors in the tail). Stick the base of this tail feather into the spot of glue you put on the first tissue paper feather, so the gathered ends overlap and are stuck together by the glue.
Repeat the process until you have all 9 feathers fanned out in a half circle, all attached together at the base.
Spread some glue on the base of the tail feathers where they're all overlapping, and press the base into the wide end of a pine cone. Set the body-tail assembly aside to let the glue dry.
Cut out the turkey's head from brown construction paper. See photo for the shape.
Cut out the turkey's beak from yellow construction paper. Fold over the construction paper and starting at the folded edge, cut a small “V” shape. When you open the “V” you’ll have a beak.
Glue two wiggly eyes onto the top of the head. Glue the beak below the eyes. Then tear off a small piece of red tissue paper and glue it around the turkey’s beak to make the gobbler.
Glue the head to the pine cone and allow to dry.